
Access slide scanning request form here.
Fig. 1 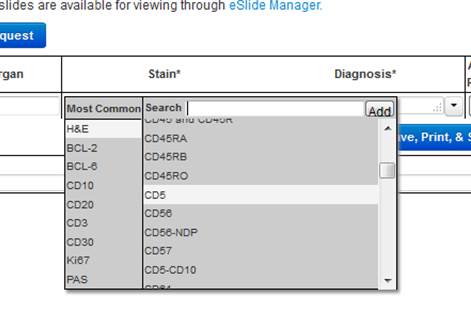 Fig. 2
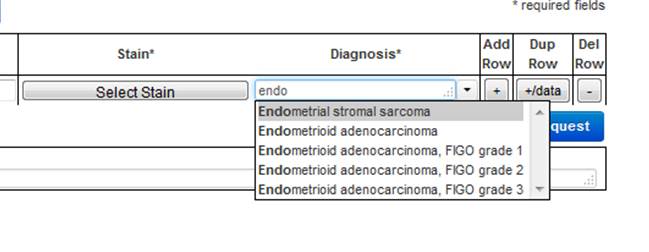
Features and notes:
 ON THE COVER
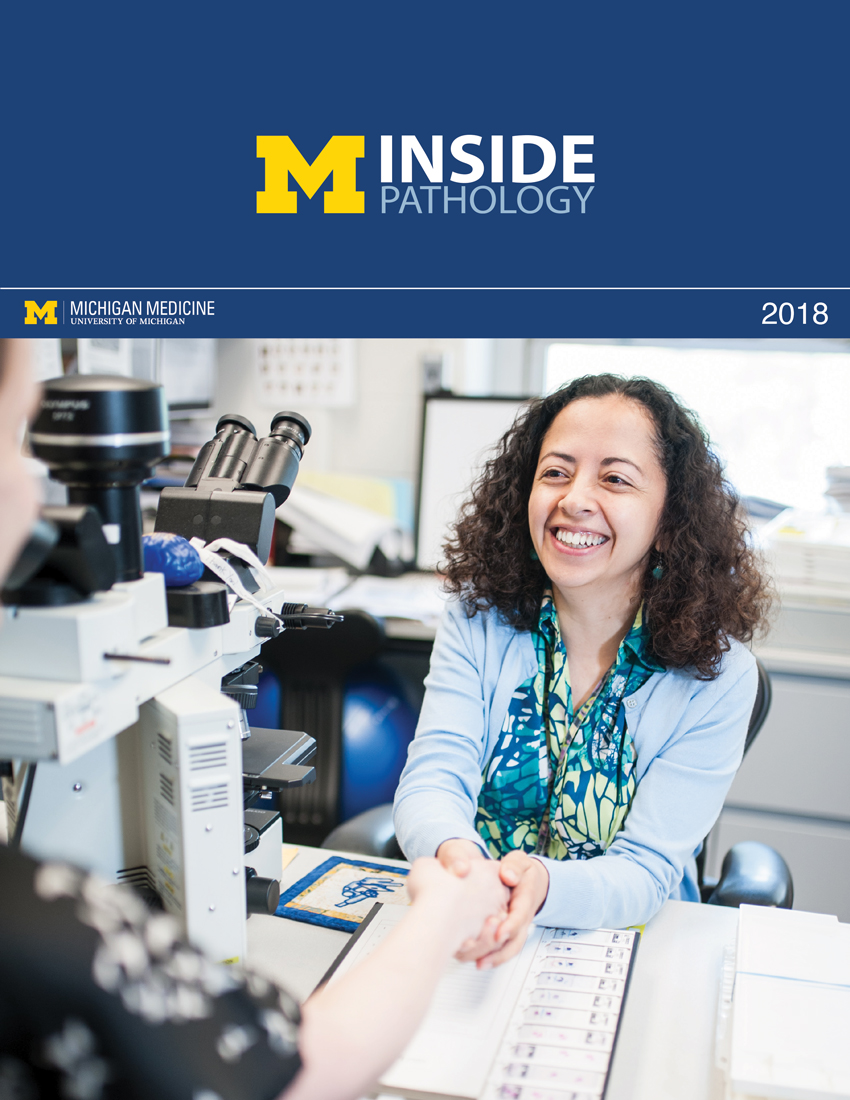
Breast team reviewing a patient's slide. (From left to right) Ghassan Allo, Fellow; Laura Walters, Clinical Lecturer; Celina Kleer, Professor. See Article |
newsletter
INSIDE PATHOLOGYAbout Our NewsletterInside Pathology is an newsletter published by the Chairman's Office to bring news and updates from inside the department's research and to become familiar with those leading it. It is our hope that those who read it will enjoy hearing about those new and familiar, and perhaps help in furthering our research. CONTENTS
|
 ON THE COVER
Autopsy Technician draws blood while working in the Wayne County morgue. See Article |
newsletter
INSIDE PATHOLOGYAbout Our NewsletterInside Pathology is an newsletter published by the Chairman's Office to bring news and updates from inside the department's research and to become familiar with those leading it. It is our hope that those who read it will enjoy hearing about those new and familiar, and perhaps help in furthering our research. CONTENTS
|
 ON THE COVER
Dr. Sriram Venneti, MD, PhD and Postdoctoral Fellow, Chan Chung, PhD investigate pediatric brain cancer. See Article |
newsletter
INSIDE PATHOLOGYAbout Our NewsletterInside Pathology is an newsletter published by the Chairman's Office to bring news and updates from inside the department's research and to become familiar with those leading it. It is our hope that those who read it will enjoy hearing about those new and familiar, and perhaps help in furthering our research. CONTENTS
|
 ON THE COVER
Director of the Neuropathology Fellowship, Dr. Sandra Camelo-Piragua serves on the Patient and Family Advisory Council. |
newsletter
INSIDE PATHOLOGYAbout Our NewsletterInside Pathology is an newsletter published by the Chairman's Office to bring news and updates from inside the department's research and to become familiar with those leading it. It is our hope that those who read it will enjoy hearing about those new and familiar, and perhaps help in furthering our research. CONTENTS
|
 ON THE COVER
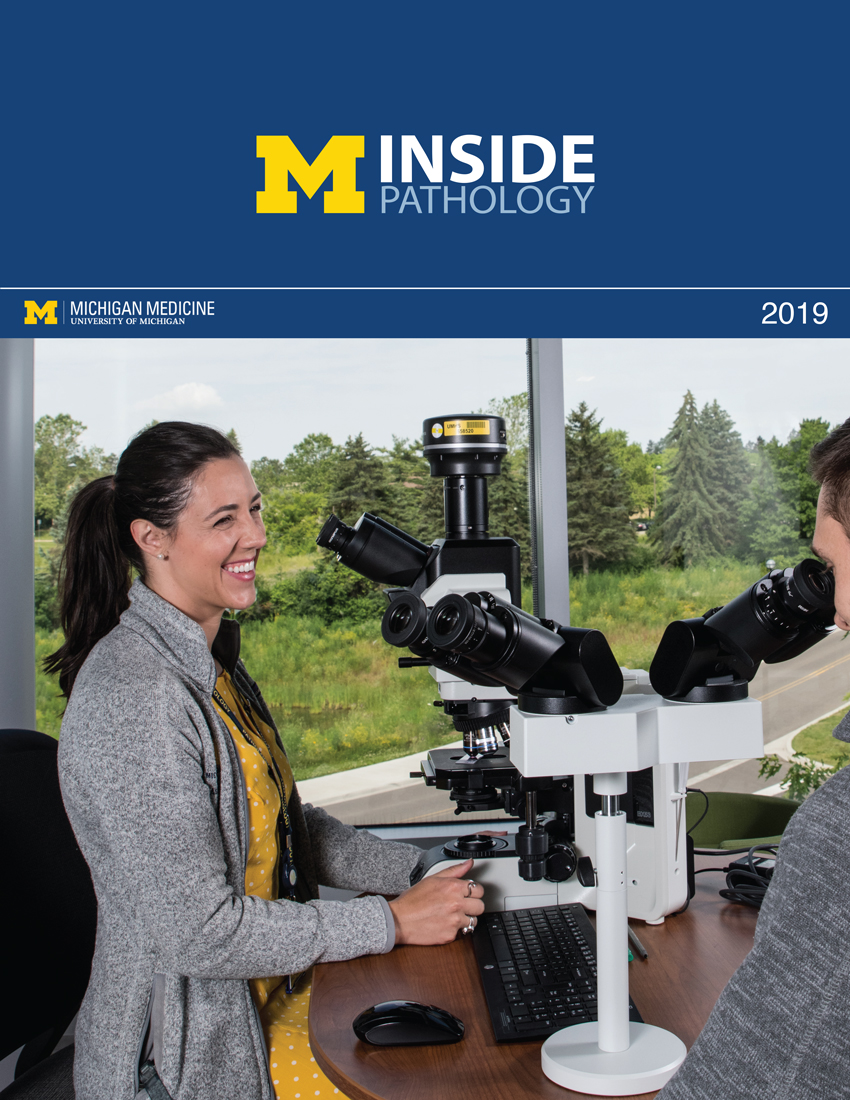
Residents Ashley Bradt (left) and William Perry work at a multi-headed scope in our new facility. |
newsletter
INSIDE PATHOLOGYAbout Our NewsletterInside Pathology is an newsletter published by the Chairman's Office to bring news and updates from inside the department's research and to become familiar with those leading it. It is our hope that those who read it will enjoy hearing about those new and familiar, and perhaps help in furthering our research. CONTENTS
|
 ON THE COVER
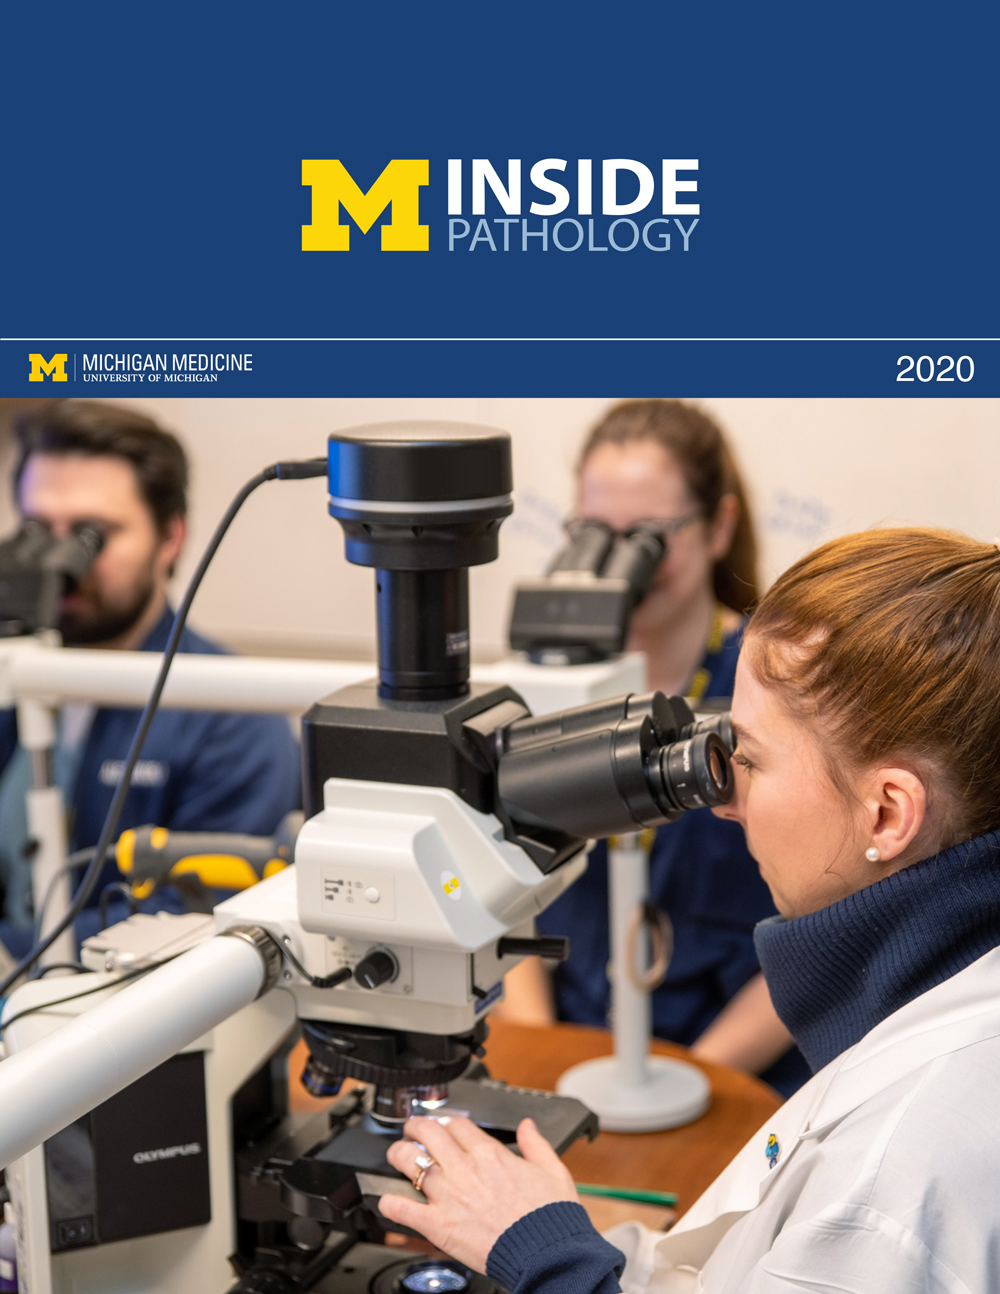
Dr. Kristine Konopka (right) instructing residents while using a multi-headed microscope. |
newsletter
INSIDE PATHOLOGYAbout Our NewsletterInside Pathology is an newsletter published by the Chairman's Office to bring news and updates from inside the department's research and to become familiar with those leading it. It is our hope that those who read it will enjoy hearing about those new and familiar, and perhaps help in furthering our research. CONTENTS
|
 ON THE COVER
Patient specimens poised for COVID-19 PCR testing. |
newsletter
INSIDE PATHOLOGYAbout Our NewsletterInside Pathology is an newsletter published by the Chairman's Office to bring news and updates from inside the department's research and to become familiar with those leading it. It is our hope that those who read it will enjoy hearing about those new and familiar, and perhaps help in furthering our research. CONTENTS
|
 ON THE COVER
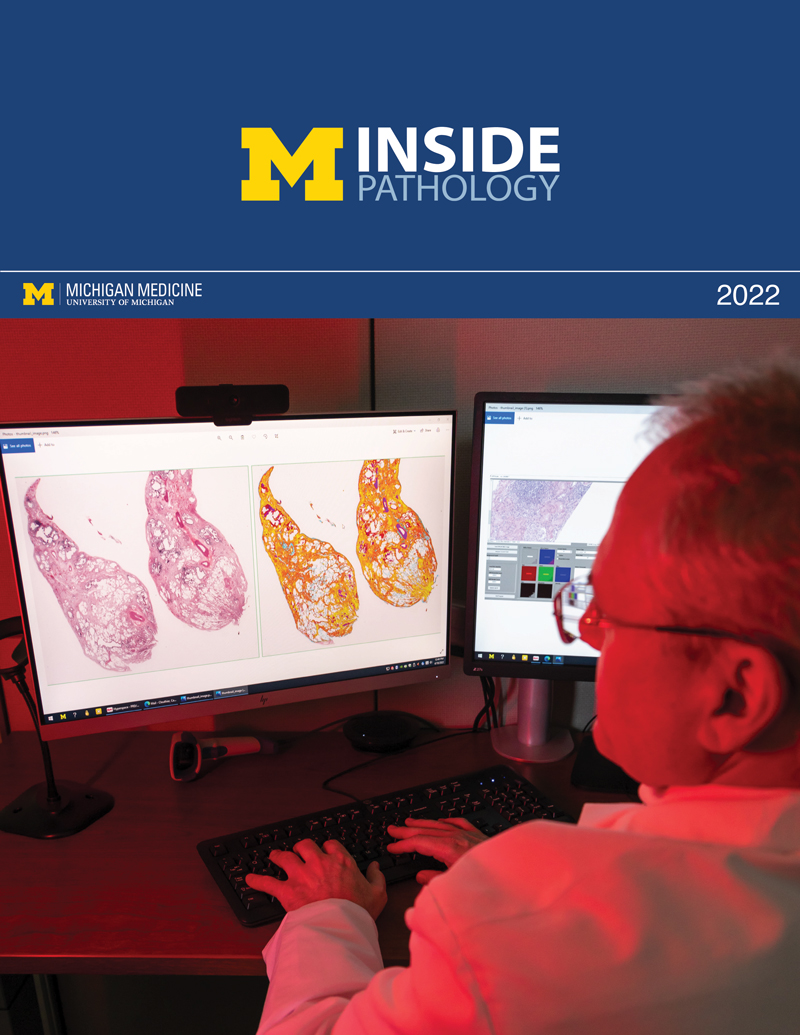
Dr. Pantanowitz demonstrates using machine learning in analyzing slides. |
newsletter
INSIDE PATHOLOGYAbout Our NewsletterInside Pathology is an newsletter published by the Chairman's Office to bring news and updates from inside the department's research and to become familiar with those leading it. It is our hope that those who read it will enjoy hearing about those new and familiar, and perhaps help in furthering our research. CONTENTS
|
 ON THE COVER
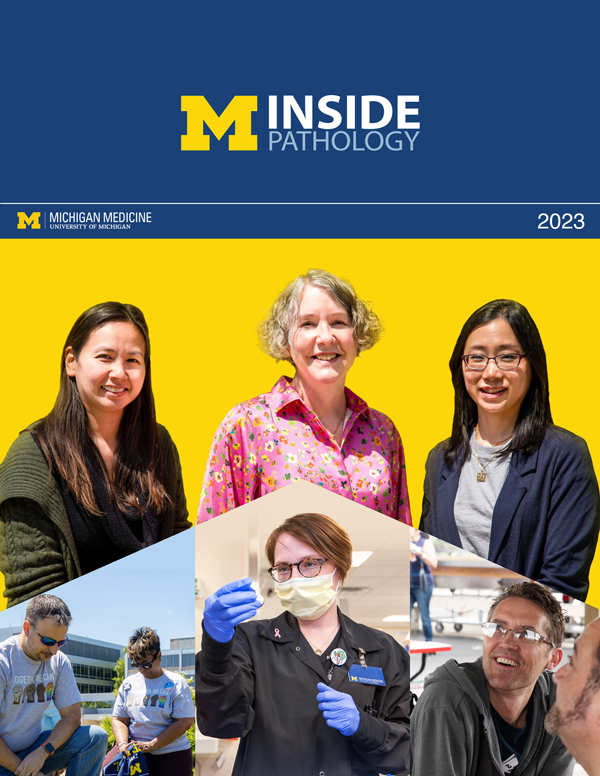
(Left to Right) Drs. Angela Wu, Laura Lamps, and Maria Westerhoff. |
newsletter
INSIDE PATHOLOGYAbout Our NewsletterInside Pathology is an newsletter published by the Chairman's Office to bring news and updates from inside the department's research and to become familiar with those leading it. It is our hope that those who read it will enjoy hearing about those new and familiar, and perhaps help in furthering our research. CONTENTS
|
MLabs, established in 1985, functions as a portal to provide pathologists, hospitals. and other reference laboratories access to the faculty, staff and laboratories of the University of Michigan Health System’s Department of Pathology. MLabs is a recognized leader for advanced molecular diagnostic testing, helpful consultants and exceptional customer service.